Sunday, November 18, 2012

First Test Fires!

FIRE IN THE HOLE!

OK, not really that exciting, but I was able to put the scope on the new rifle and take it to the local pistol range.  I know, I know the pistol range is only 25 yards but I had to shoot the new rifle.


I could have bore sighted the thing first, but I like shooting one in just because I don't get to shoot too often, so any time I get the chance to shoot a box of bullets, well you know.

The range had a shed with a sand bag, so It was really convenient and comfortable to shoot.  Here is the first target.  The shoot in was from lower right to upper left.  The mark on the lower left is a tear not a bullet hole.


Not much else to say other than the rifle shoots really sweet and spot on at 25 yards at least.

The last sheet is the final 3 bullets in the box.  One jagged hole at the top right of the yellow square.  Point of aim was the upper right corner of the yellow square.

Bullet weight is 55gr FMJ Federal factory ammo.

Quite pleased. 

Monday, November 12, 2012

Weekends Work


 Getting Closer!

The Weekend yielded some good results.  The glass bedding is done and has setup very well.  All that is left to do is clean-up the barrel, action and stock.
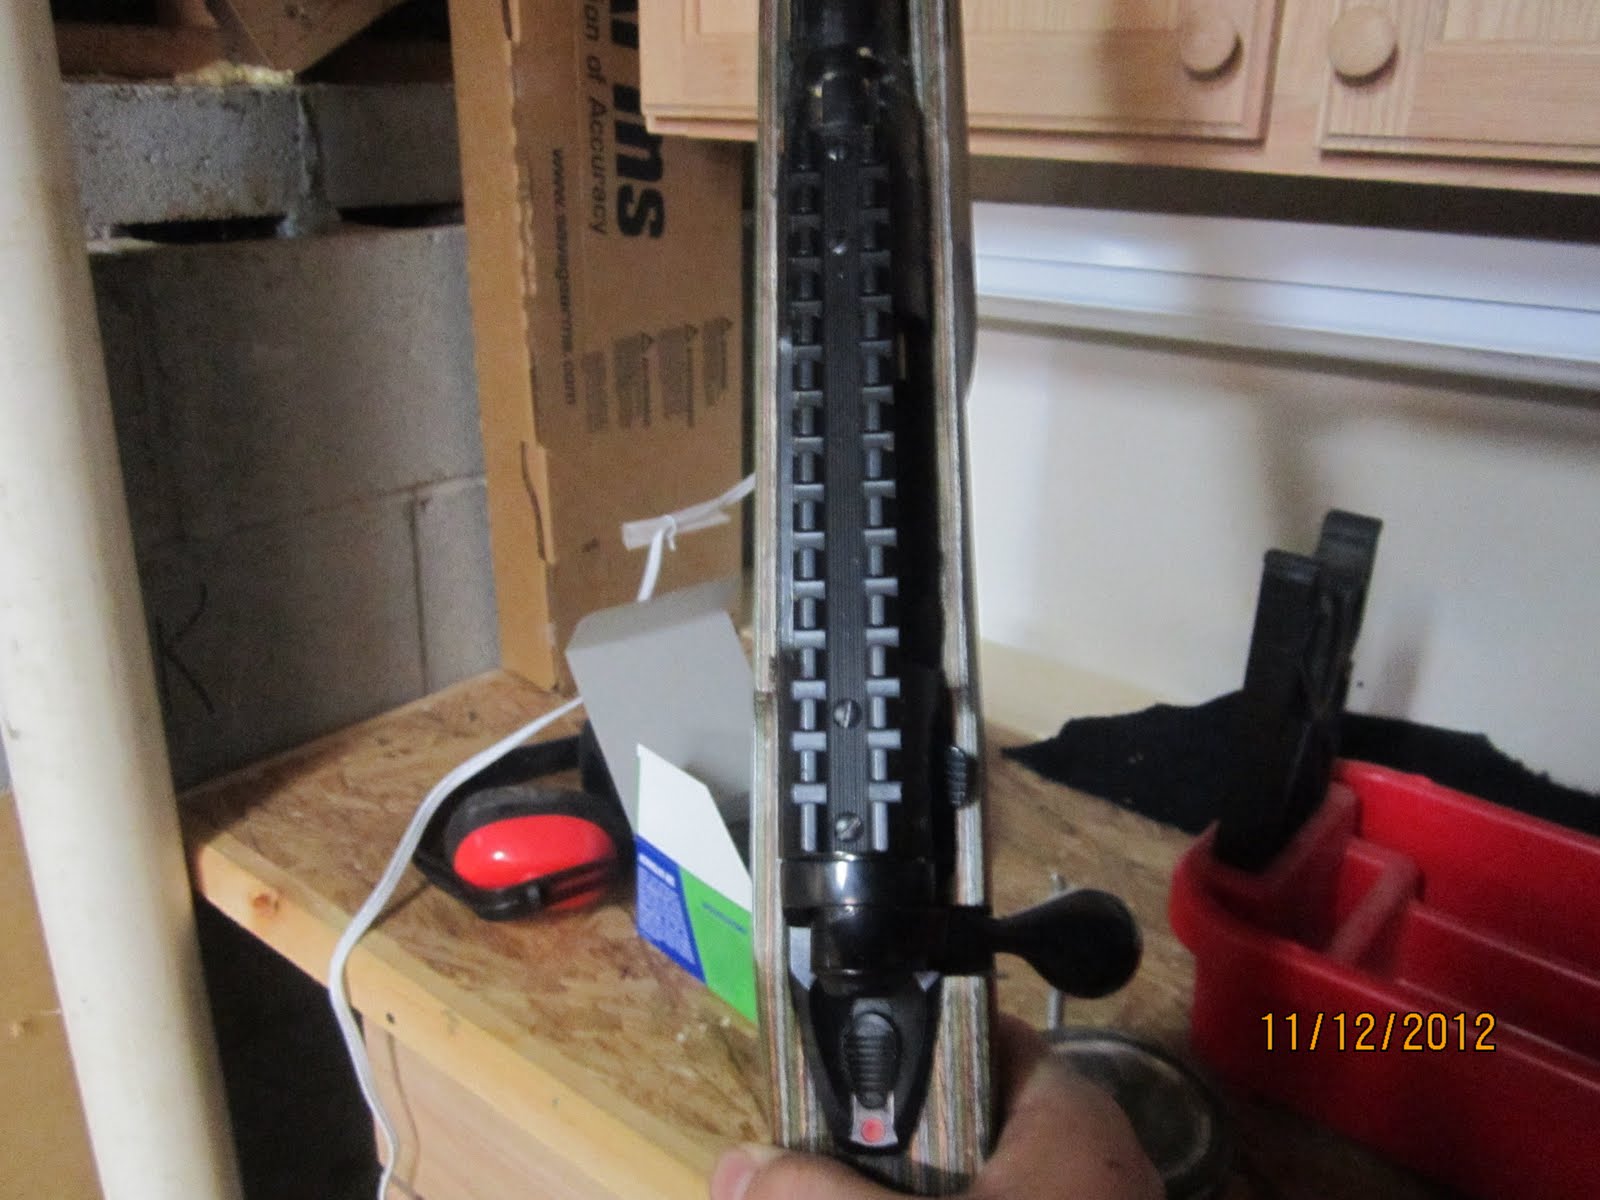
The pic to the right shows the mold made by the epoxy.  A little trimming around the magazine well and all the internals can go back together.  A sharp chisel and the dremel tool should take care of everything.  There is just a little bit of fitting left to do around the action where the cartridges feed into the magazine but that will be cleaned up with a smooth file and some light sanding.  I can use Tru-Oil to touch up any areas that get sanded.

As a side project and in the name of getting all my dad's old stuff organized I decided to utilize a cabinet carcass I had laying around the shop.  It was supposed to be a toy box for my nephew but I didn't like the way it looked so I set it aside.  Well I added a shelf and some plywood trim and doors and made a small ammo locker.  I made a make shift lock out of some scrap wood I had around the shop.  My friend at work is going to turn a more substantial bolt that I will side in place when he gets it done.


Now all of the ammo and firearms are separated by locked doors.  Getting ready to go varmint shooting turned into more of a project than I ever imagined, but I have to say it is great (although bittersweet) getting dads old tools organized and put to use.  Believe it or not, I still have several hundred bullets to load before I am ready for the shoot.

Saturday, November 10, 2012

Bedding Touch-up

Bedding Resin with brown and green mixed in.
Photo shows the resin mold made by the compound.
I took the stock and action apart and the bedding looked pretty good.  There were some areas where I wanted to get more material, so I touched up the bedding job a little this morning.  I also took the majority of the tape off.  Here are a few shots of this mornings work.

The touched up areas are the one in the front of the recoil lug and by the rear action screw.  I wanted to make sure these areas were tight when assembled.  

Next will be to clean all the excess up and clean all the wax off the barrel and action.  Hopefully I will be able to shoot it next weekend. 

Friday, November 9, 2012

Glass Bedding set up Properly

Well I checked on the glass bedding and it appears to be setting ok.  Pics to follow.  I talked to my dad and he said it sounded like I did everything properly.  It means a lot coming from him.  We will see how it shoots.

Pics to follow when I take it apart and clean it up

First Glass Bedding Job

Well, I took the plunge and went ahead with the glass bedding for the new rifle. Kind of scary.  I had never done anything like that before. Watching my dad do it and watching vids online is not the same. 
 
First I waxed EVERYTHING and taped off the parts where you do not want glue.  The bedding compound is called Acraglass from Brownells.com.  It is a two part glass reinforced epoxy system.  Pretty simple to mix up.  Just like regular epoxy, 1:1 resin and hardener.  They include brown and black dye.  I chose brown.  So the bedding compound looked like chocolate pudding while it is being applied.  

Action taped then waxed over the tape.
The bedding compound was spread around with a Popsicle stick.  It looked kind of intimidating to take a perfectly good looking stock and spear glue all inside then stick a brand new rifle into it.

All put back together around 10:30pm.  We will wait and see how we did tomorrow.

Reassembled and waiting to dry.

Thursday, November 8, 2012

Camo Stock arrives to replace the pink one


So I get the Forest Camo stock in from Boyd's Gun Stocks  I can't say enough good stuff about them  They replaced the funny looking pink stock for the cool one in the picture below.
The next thing I have to do is get the stock ready for glass bedding.  Glass bedding is a procedure by which you spread some epoxy resin inside the barrel and action channel then replace the barreled action.  The epoxy form fits around the action and bonds to the stock creating a perfect fit between the stock, the barrel and the action.


I spread black shoe polish on the underside of the barrel and action and reassembled everything to transfer black marks to the high spots of the stock on the inside.  Sorry I do not have a picture of the result, but these shots show the parts that will be embedded in epoxy inside the stock when everything is finished.  The most important parts that you do not want to move are the recoil lug and the receiver.  The recoil lug is the square tab that protrudes from the action.  The recoil lug will get encased in epoxy and be prevented from moving around inside the stock.  This increases repeatable accuracy by forcing the barrel, action and stock to act as one instead of the barrel and action moving independently.  The receiver where the bolt slides will also receive bedding underneath and around the sides below the sight line of the stock on the outside.  


The picture to the right shows the interior of the stock after having the high spots removed.

The next entry will be the barrel and action preparation.

Wednesday, November 7, 2012

New Stock on the Rifle

October 2012

I ordered a new thumb hole stock from http://www.boydsgunstocks.com and it came in on 10/4.  It was supposed to be black/brown/rosewood laminate.  The style on the web site was called Royal Jacaranda and looked pretty cool.  Well the new stock came in on Thursday and wasn't the color I expected.  Instead of black/brown/rosewood it was grey/brown/pink.  That is ok if I was building a rifle for cancer awareness but to shoot prairie dogs and varmints in Wyoming with a bunch of guys, not so much.  Besides even though the color is cool at first the more I looked at it the uglier it got.

I called the factory and they said it was not supposed to be "pink".  They told me to send it back for full credit and pick out a color that was more accurate to the description.  I have a Forest Camo stock on the way.

Going for the Long Shot

August 2012
 
My friend asked me to go varmint shooting with him next summer so I decided to put together a varmint rifle for the trip.  I sold a couple of things and started with a Savage Model 12FV basic target/varmint rifle.  Below is a shot of the basic rifle:

Savage Model 12FV right out of the box.
The rifle Specs can be found here.  The model is a .223 with a heavy barrel and 1:9 twist.  The Accu Trigger is pretty sweet.  The factory stock is pretty bad and is very flimsy like Tupperware.  I plan to replace the stock with a Thumbhole model.